
Love hiking but hate carrying a heavy backpack? The good news is training with a pack and gym strength work will help improve your pack-hauling capabilities.
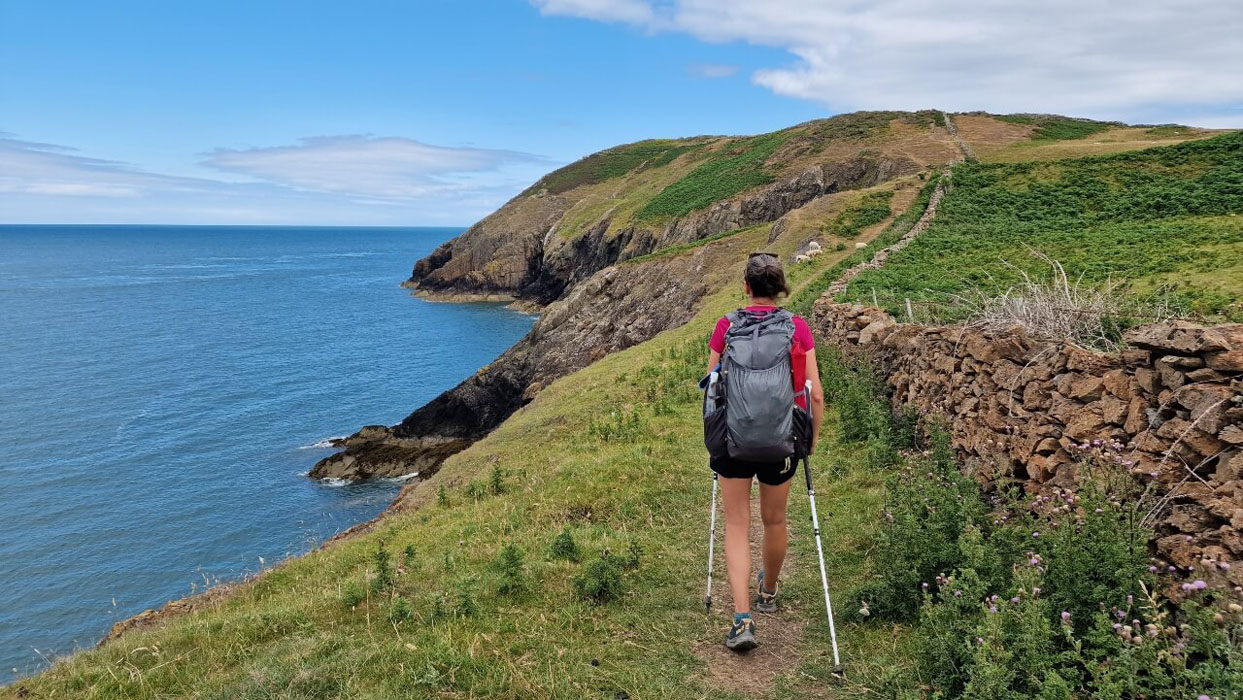
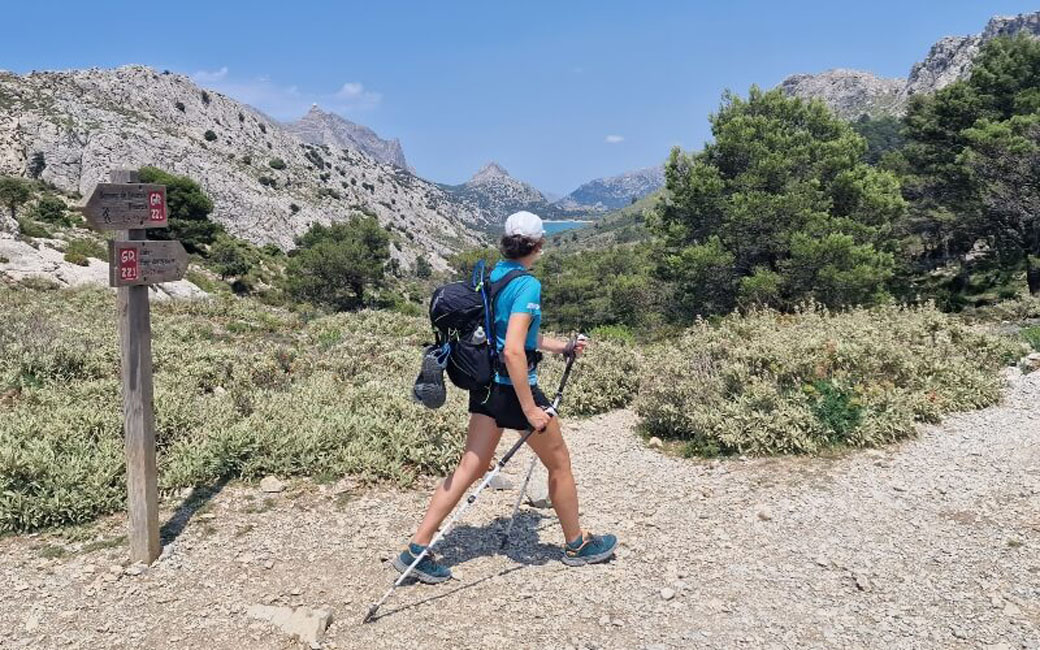
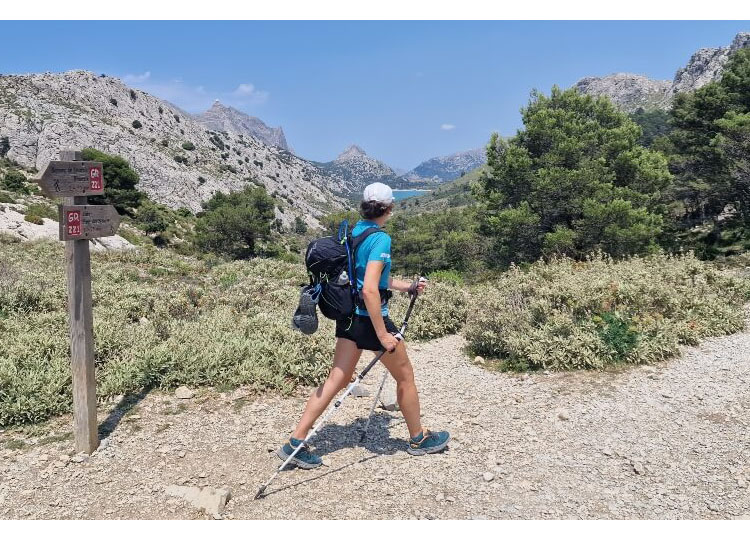
In this article INOV8 hiking ambassador Nic Hardy gives her top tips for training to hike with a heavy backpack. Nic is a backpacking veteran and has recently completed a mammoth 700km hike across the Swiss Alps. So she knows a thing or two about hauling heavy over long distances!
A heavy backpack can slow down your progress, reduce the mileage you can cover each day, and increase the strain on your body. The hips, knees, shoulders and back will be put under more pressure, and your feet and ankles will be more prone to blisters, soreness and imbalance. It can be a total nightmare, but there is a way to mitigate against these risks.
With some simple activities, a bespoke training plan, and some hard work, you can definitely train your body to cope better with a heavy pack. It’s not rocket science and almost anyone can do it!
When I first started backpacking as a novice hiker, I can remember feeling weighed-down and almost incapacitated by my mega-heavy 65L backpack. But since those early days I’ve learnt many strategies and approaches for improving my pack-hauling abilities, including a four-step plan:
- Train with a heavy pack in your everyday life
- Hit the gym to build strength
- Reduce the weight on your back by packing less
- Choose the right backpack
1. TRAIN WITH A HEAVY PACK IN YOUR EVERYDAY LIFE
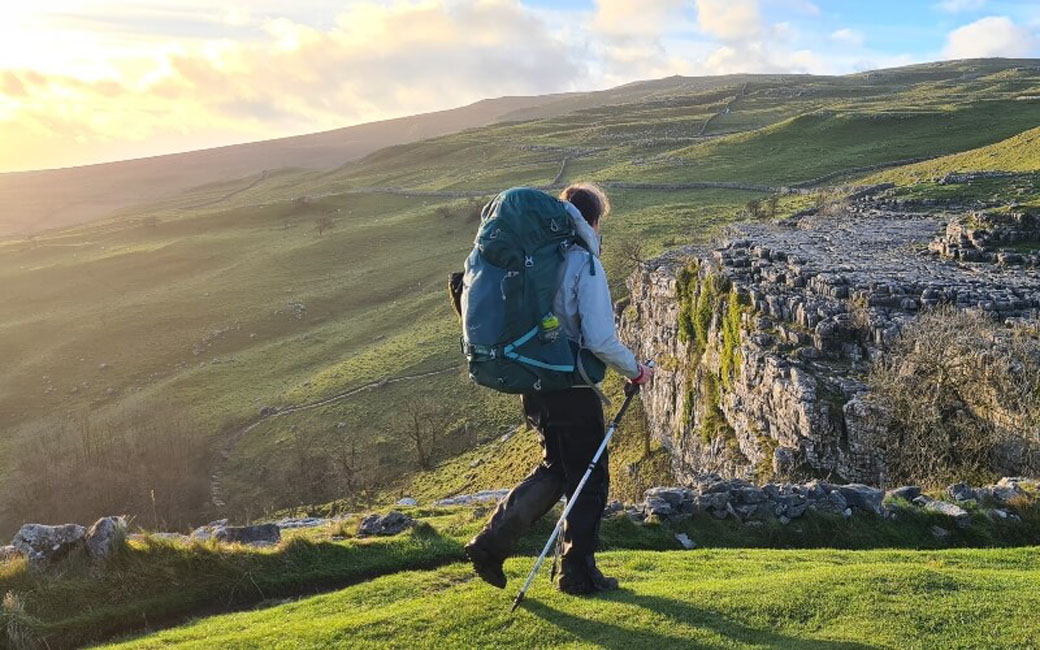
Some blog articles on the internet leave you with the impression that the best way to train for carrying a heavy backpack is to hit the gym and max out on the deadlifts and bench press. The truth is that nothing can prepare you for the challenges of carrying a heavy pack better than (yes, you guessed it!) carrying a heavy pack more often. This is because nothing in the gym can exactly replicate the specific muscle use and strains you get from carrying a heavy pack.
High-profile backpacking experts agree with this approach. Chris Townsend, the UK’s most prolific long-distance hiker, writes in his iconic guidebook The Backpacker’s Handbook: “The best way to train for carrying heavy loads over rough terrain is to carry heavy loads over rough terrain.” Simple.
Chris goes on to outline an anecdote from fellow backpacker John Hillaby, who lived in London. John trained for his 1,100-mile end-to-end Land’s End to John o’Groats walk by spending three months commuting from Hampstead to the City with dumbbell weights in his backpack. “It’s surprising what [training] you can do, even if you live and work in a city”, adds Chris Townsend.
How To Fit Training In
So the best training plan is to simply head out on long walks with a big, heavy pack more often. Perhaps like John Hillaby you can integrate this into your daily routine:
- Can you commute to the office with a heavy pack?
- Is it possible to ditch the car and hike to the supermarket for your weekly “big shop”, carrying your heavy groceries all the way home?
- Maybe you can walk to your gran’s for Sunday dinner with a heavily-laden pack on your back for good measure?
Another option is to plan regular training hikes in the evenings and weekends. During these sessions, you should carry a heavy pack and, as accurately as possible, replicate the exact conditions (i.e. clothing, footwear, terrain, distance, calorie intake) that you will experience on the long-distance route or adventure you are training for.
Training Principles
When training for your backpacking trip, it’s important to follow these principles to deliver you to the start of your hike in the best shape:
- Start training early
Don’t leave it till the last-minute, instead give yourself a good lead-in time and begin your training at least 3-4 months before your adventure. - Don’t burn out too quickly
A better strategy is to increase your goals gradually, upping the ascent, mileage, pack weight and ruggedness of terrain slowly over time – tiny incremental improvements are the key to success, not unrealistic leaps in performance. - Train to be fitter than you need to be
A sensible strategy is to make your training more difficult than your hike will be. Aim to hit a peak of hiking a longer distance than you will on your trip, and with a heavier pack. This will give you real confidence and reassurance, and ensure you are ready for the rigours of trail life.
Let’s take a hypothetical scenario. You have booked to walk the 435km Pennine Way in August, and you plan to complete it over three weeks, hiking 20.7km per day for 21 days. Your projected pack weight is 10kg.
It’s difficult to be precise about a training plan for this type of walking, as there are so many factors in play, such as your current fitness level and the amount of time you’re able to dedicate to fitness. But, as a general guide, an example training plan for this walk would be:
Month 1
- 2 x weekday 10km walks with an 8kg pack, every week
- 1 x weekend 20km walk with an 8kg pack, every week
Month 2
- 2 x weekday 11km walks with a 10kg pack, every week
- 1 x weekend 25km walk with a 10kg pack, every week
Month 3
- 3 x weekday 12km walks with a 12kg pack, every week
- 1 x weekend 30km walk with a 12kg pack, every week
Month 4
- 3 x weekday 13km walks with a 14kg pack, every week
- 1 x weekend 35km walk with a 14kg pack, every week
Month 5
You’re ready to start your Pennine Way adventure!
All of the above distances and weights are simply examples, and should be adjusted to match your personal needs and goals.
It’s also important to remember that a training plan is simply a motivational tool. Some people love them and thrive off the structure and organisation; others will find them a hassle – the kind of thing that makes your hiking feel like chore. If you’re the latter, don’t feel like you need to be bogged down by a rigid training plan. Instead find an approach that works for you.
Back to top
2. HIT THE GYM TO BUILD STRENGTH
While getting out into the great outdoors and hiking big miles with a heavy pack on your back is the best way to train, hitting the gym to build your core, leg and upper body strength can also be very useful.
The benefits will be plentiful. A stronger core will help stabilise the spine, for example, so the weight of your backpack is not unsafely loaded onto the lower back. It will also enhance balance for a more stable base, and ensure you have the strength to prevent injuries from side-bending, flexion or rotation in the spine – none of which is a good thing. On top of this, stronger shoulder, back and upper body muscles will naturally help with pack-hauling. And tougher, more powerful leg muscles will help bear the load better too.
5 Gym Exercises For Backpacking Strength
It’s advisable to consult a qualified personal trainer for a bespoke training plan and to make sure you know how to use equipment and carry out exercises safely.
Here is a selection of simple exercises I like to do to condition my body for carrying packs over long-distances. This list of exercises would approximately fill my 1-hour gym session and I'd perform them twice a week in the build-up to your backpacking trip.
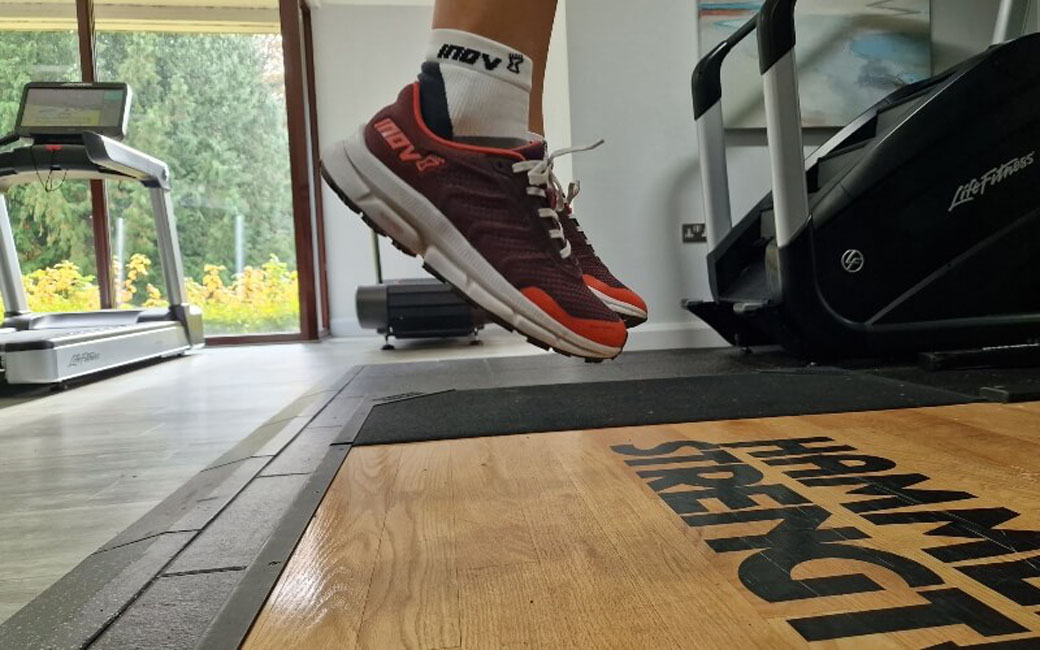
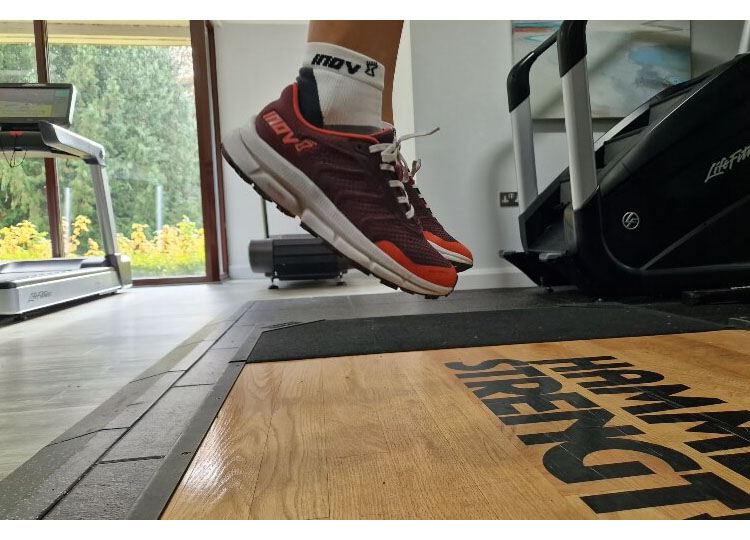
1. Jump squats

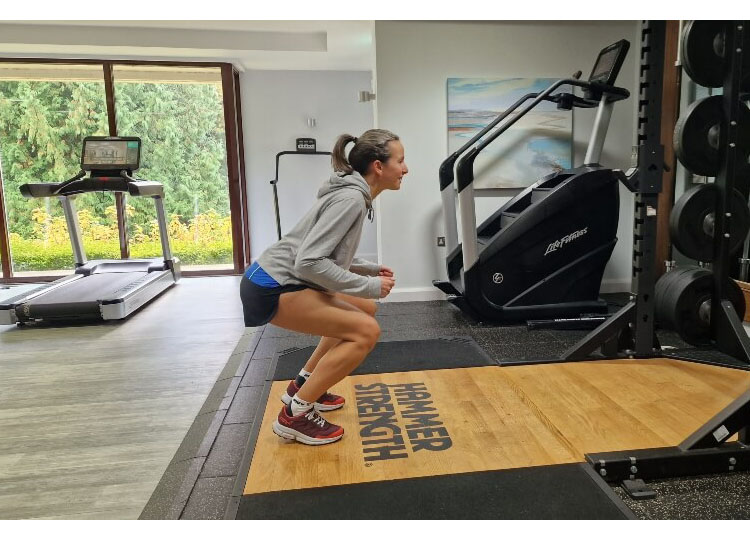
An excellent fully-body workout, particularly focusing on the lower body and legs.
3 sets x 15 jumps.
2. Single-leg deadlifts
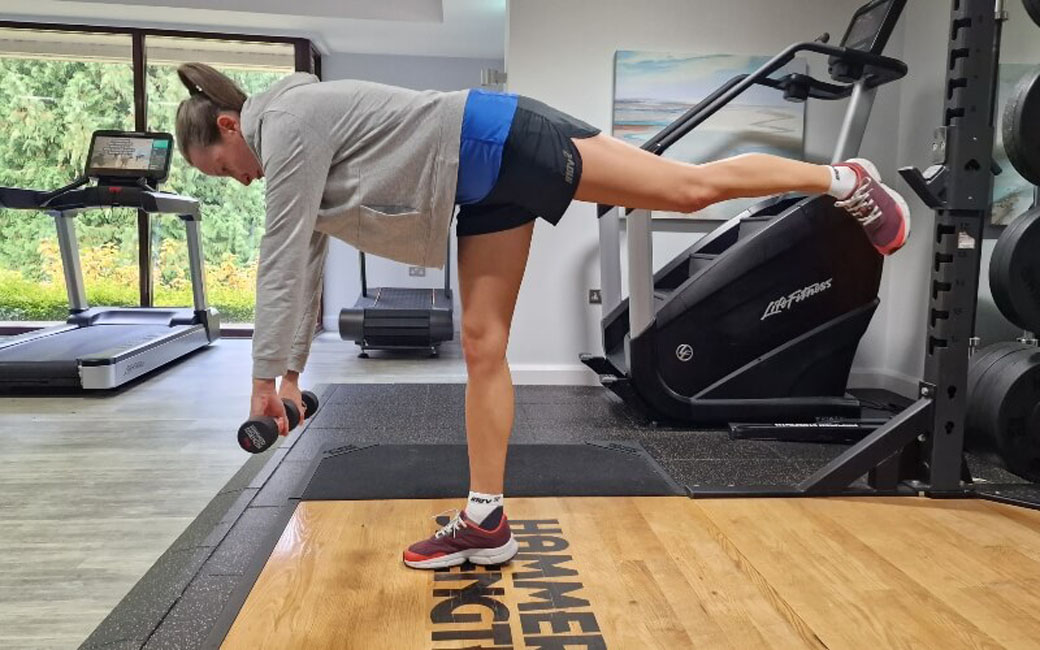
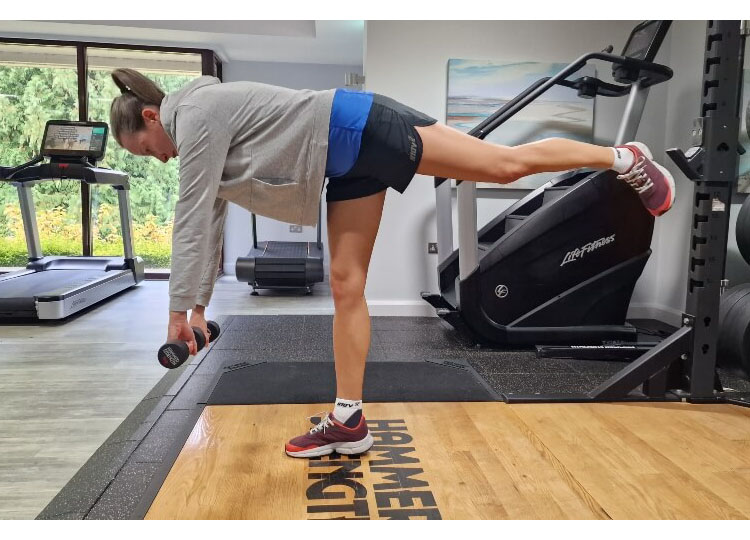
This dumbbell-based exercise helps with hip/core strength and improves balance.
3 sets x 15 reps on each leg (30 in total).
3. Side plank with hip dips
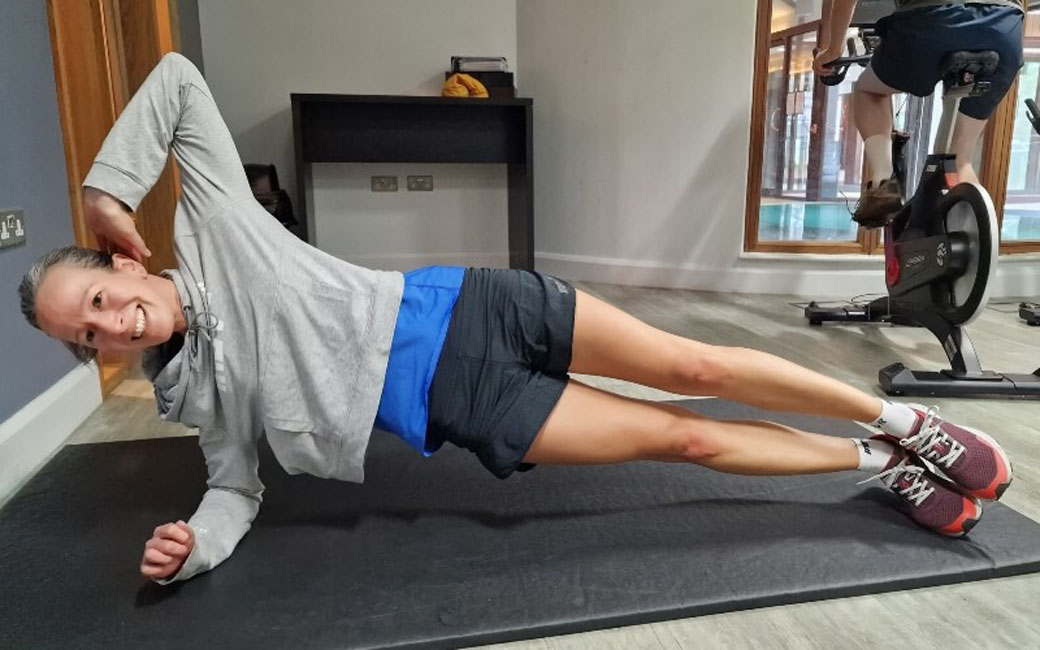
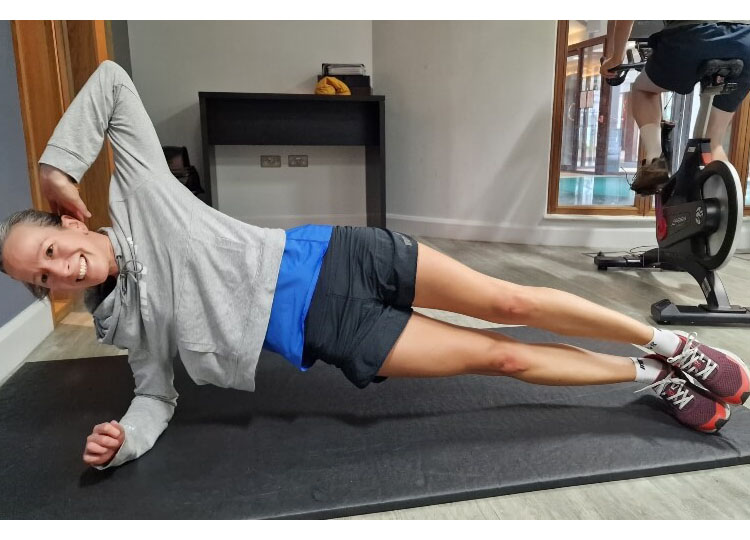
While a regular plank is superb for core strength, this side plank variant helps with hip strength, core endurance and lower back issues.
3 sets x 60 seconds on each side.
4. Press-ups
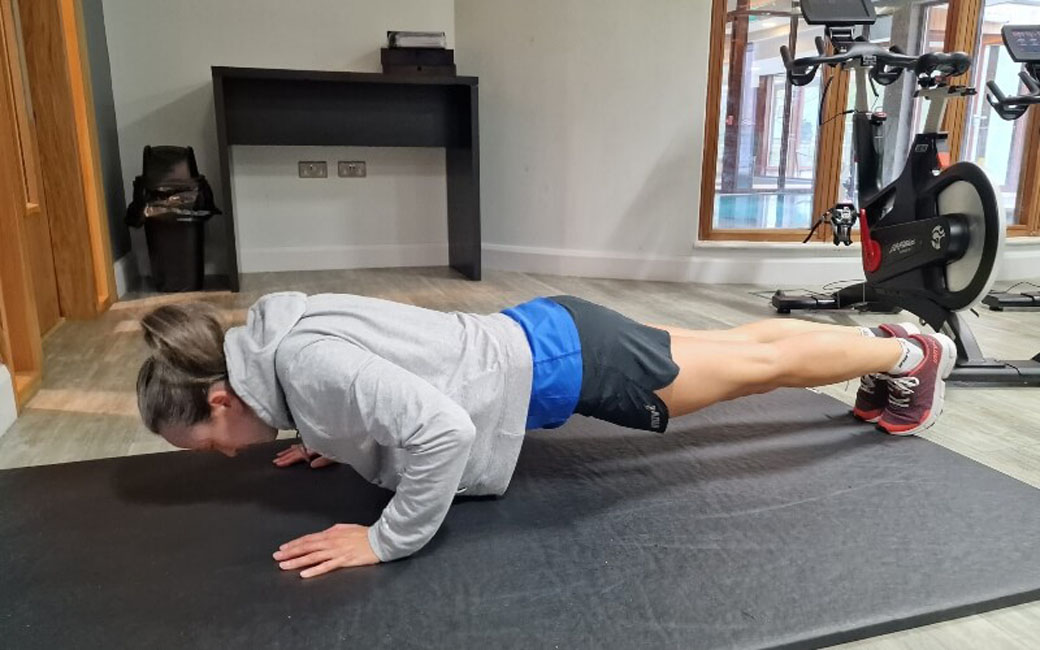
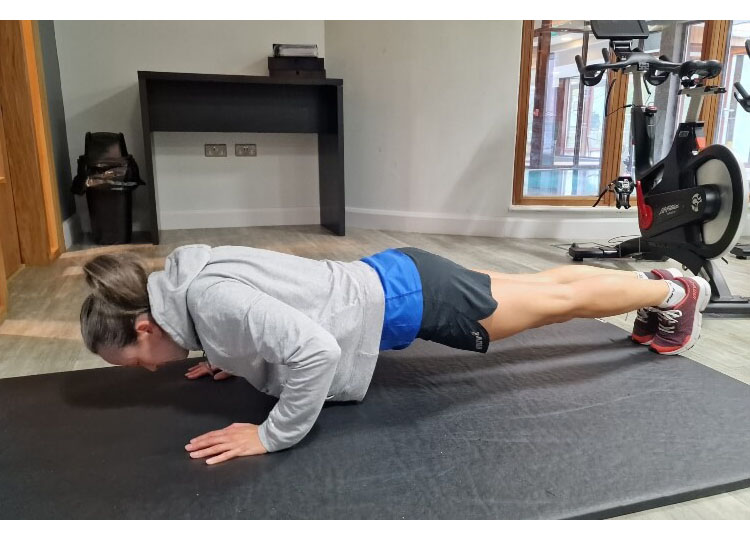
An old-school classic but difficult to beat for all-round strength development.
3 sets x 15 press-ups.
5. Dumbbell bench press
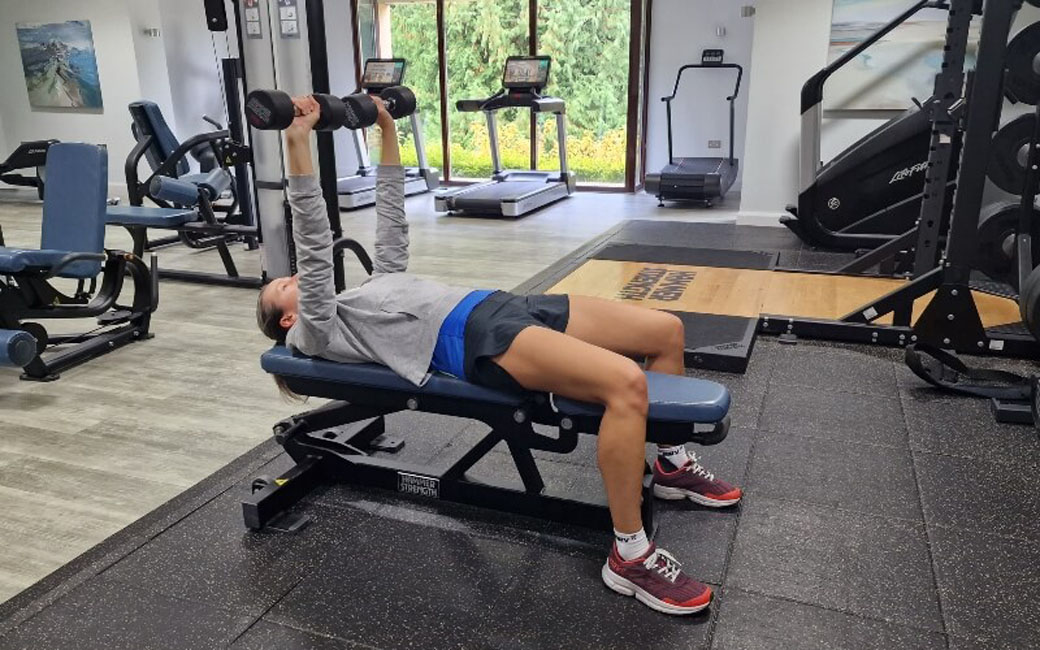

An excellent way to build shoulder, chest and bicep strength.
3 sets x 15 reps.
3. REDUCE THE WEIGHT ON YOUR BACK BY PACKING LESS
A funny truth with this whole topic is that it’s far easier to reduce your pack weight than it actually is to increase your strength.
So it’s certainly sensible to focus on shaving grams off your packing list, as well as improving your fitness. After all, if you’re challenging yourself to carry a 20kg monster pack halfway across the country, even the strongest of hikers would struggle. But if you can reduce that pack weight to just 10kg, suddenly the whole project seems easier and more attainable.
Saving weight on your backpack can be quite straightforward if you follow a few simple guidelines:
- Invest in ultralight equipment
For long-distance hiking, your tent, sleeping bag and sleeping mat will be your heaviest items, and thus are the easiest place to save weight. If you can upgrade from a 3kg tent to an ultralight 1kg trekking pole tent, for example, suddenly you’ve taken 2kg of strain off your back. - Don’t over pack food and water
On many long-distance walks, you can re-supply regularly in supermarkets, cafes and pubs en-route. Plan these out carefully and then you don’t have to carry so much food. Equally, invest in a water filter and you can fill up regularly at streams, rather than lugging around a heavy 3L (3kg) of water. - Ditch any “just in case” items
The temptation is to pack the kitchen sink, but so many things are – in truth – surplus to requirements for your hiking adventure. Do you really need three spare pairs of knickers, a can of deodorant and that hardback book? Get rid of any non-essentials and you’ll soon save so much weight from your back. - Follow the general body weight to pack weight ratio
Traditional wisdom suggests your backpack weight should never exceed 20% of your body weight, so if you weigh 70kg your backpack should be up to a max of 14kg. I weigh 58kg, so I ensure my backpack never weighs more than 11.6kg.
Find out more about what to pack on a multi-day adventure and how to reduce your pack weight in this blog post by ultralight backpacking expert and fellow INOV8 ambassador James Forrest.
4. CHOOSE THE RIGHT BACKPACK
Carrying a heavy backpack can cause you issues such as:
- Chronic back ache
- Pain in the neck and shoulders
- Excessive strain on the hips, knees or ankles
Fortunately, a lot of these issues can be solved by ensuring your backpack fits your body well, and is a well-designed and fully-featured product. After all, if you head out on a hiking expedition using a £20 school backpack, your back is going to ache; or if you use a frameless backpack with no internal frame but load it up to the max with 20kg of kit, it’s going to cause you issues.
What Makes A Good Backpack?
A good hiking backpack should be lightweight, long-lasting, supportive and full of features. Padded and ergonomic shoulder straps should deliver a comfortable carrying experience, and a wraparound hip belt should effectively transfer the weight of the load to your hips. This is a very important point, as it helps take the strain off your back and shoulders.
Another crucial feature is a good back system. This usually consists of an internal frame – the thing that gives the backpack some solidity, structure and support. A normal back system consists of a metal frame (usually aluminium or carbon, sometimes in a rectangular or X shape) and a plastic frame sheet. The design of the back system will affect how well ventilated the pack is, and ultimately how comfy, stable and supportive it feels in-use.
The final key factor is to pick a backpack with the right size for you. This will be based on your torso length. Some packs are adjustable, but others have a fixed length.
The easiest way to figure out all of this is to go to a shop and get fitted by a skilled shop assistant. Make sure to load the pack up first when trying it on, as testing an empty pack can easily give you the wrong impression.
And don’t forget your feet!
When my pack is heavy, I opt for lightweight footwear which is well-cushioned and that doesn't compromise on grip. The heavier the pack, the greater the pressure down through the feet, so picking the right footwear is important.
Whether I'm walking on rocky terrain, gravel, sand, tarmac or grass, the ROCFLY and ROCLITE ranges of hiking boots and shoes have always served me well on my long distance hikes.